If you are editing your videos in Adobe Premiere Pro, here is a step-by-step tutorial about how to export your finished video properly and quickly.
When you are ready to export your finished video in Premiere Pro, you will see a lot video exporting options in the Export window. These video export options are not too difficult to master if you approach this final stage in your video creation with some planning and know-how. Let’s jump into some valuable tips, tricks, and how-to steps so that you export your video in Premiere Pro the right way.
Contents
Best Format for Your Video Export in Premiere Pro
Before you head over to the video export options, pause for a bit to come up with answers to these questions.
- Where are you going to use the video?
- Will you upload it to YouTube?
- Will you send it as a preview to your client by email?
- Will you need the highest possible quality for your video?
Why is it important to answer these questions? Since Premiere Pro offers a lot of options in the Formats and Presets area, you need to know which options will suit your ultimate goal (aka exported video).
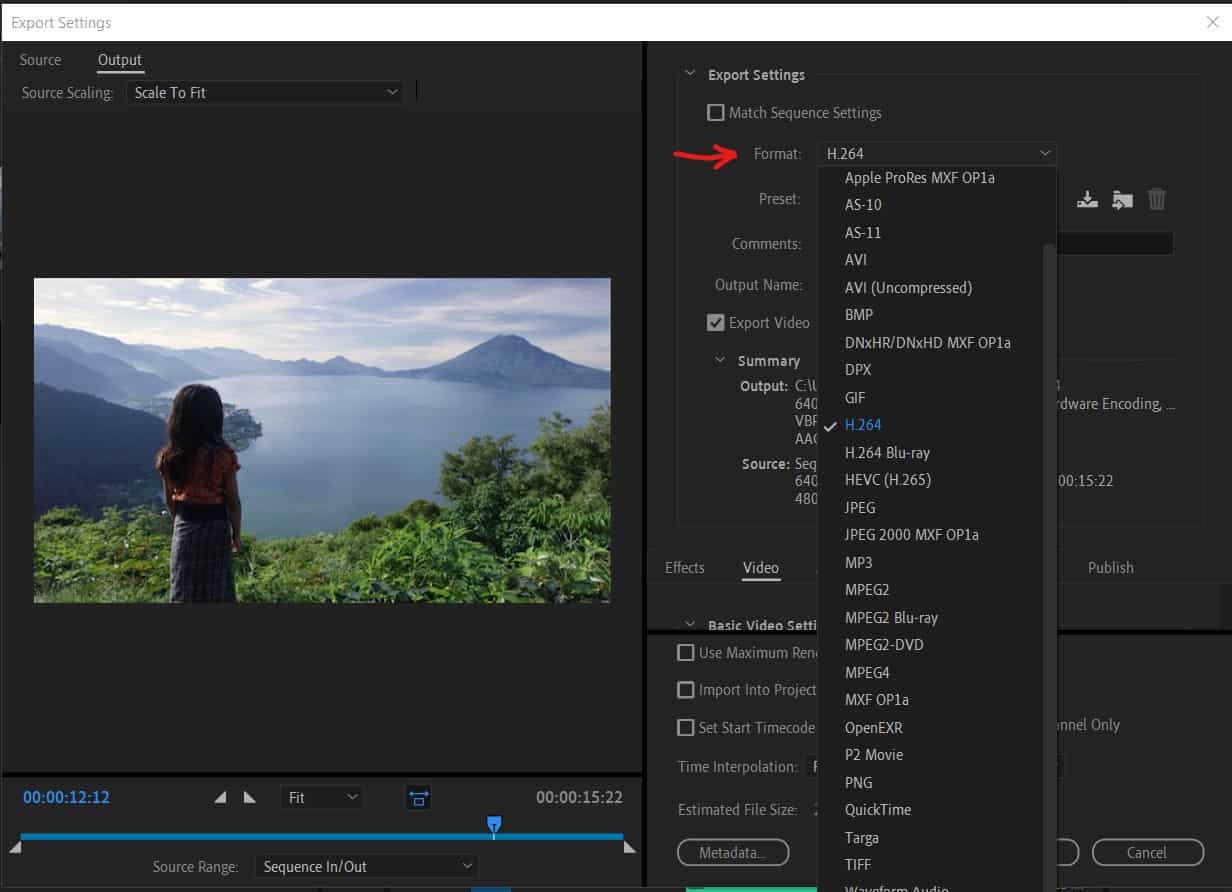
Here are the Format Export options in Premiere Pro.
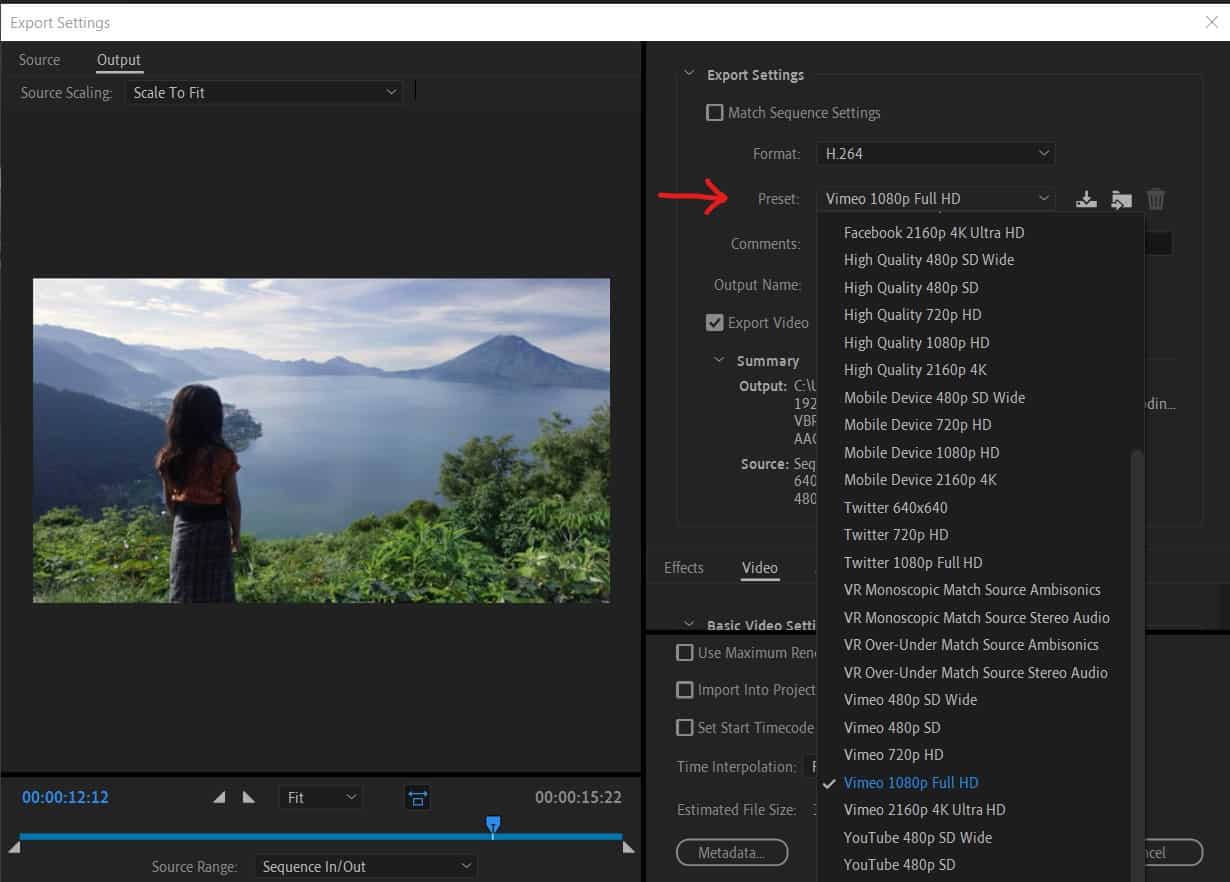
Here are the Preset Export options in Premiere Pro.
Video File Formats in Premiere Pro
If you create video for online platforms, the best 3 formats to export your video in Premiere Pro will be:
- H.264: it is considered the best format for online videos created for YouTube. .MP4 is the commonly used video container here.
- QuickTime: it is the best format for exporting with an alpha channel, which provides high image quality with a reasonable file size. .MOV is commonly used here.
- AVI is good format to get maximized image quality without much concern to the file size. With this format you may need to allow more time for rendering and the file size may be larger than with the other 2 formats.
5 Steps to Export Video in Premiere Pro
Let’s look at the exact steps to take to export the finished video in Premiere. It will take 5 easy steps here.
Step 1: Get to the Export window
Select the sequence to export before getting to the Export window.
There are two ways to get to the Export window in Premiere Pro when you are ready to export your video. You can find it by going to File > Export > Media. Or you can use the shortcut on your keyboard Ctrl + M on PC or Cmd + M on Mac.
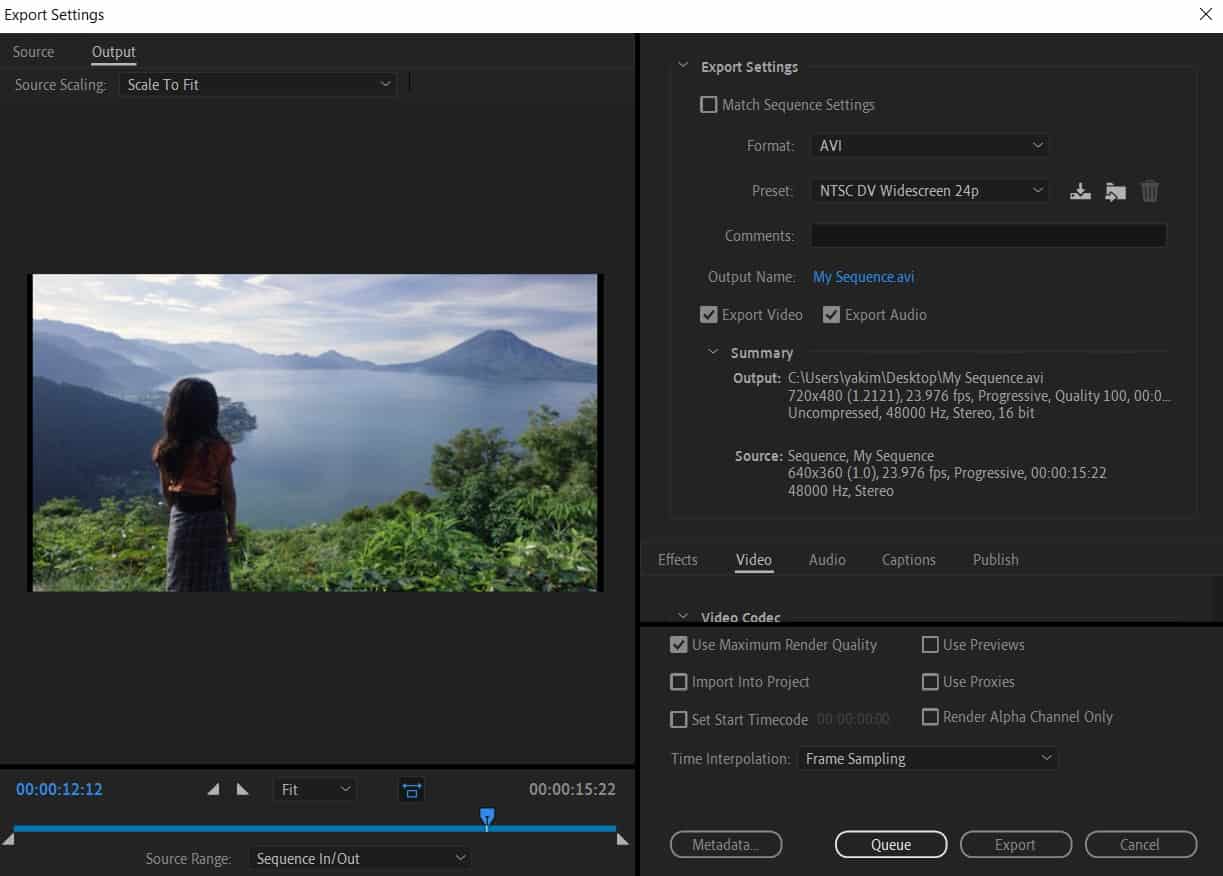
Step 2: Choose the export settings
You already have answers to the questions about where your video will go (online platform, preview for customer, highest quality). The delivery destination is also important as it will help you decide what settings to choose.
The easiest way is to just use Match Sequence Settings at the top of the Export Window if you are happy with the exact same settings of your sequence.
Even if matching the sequence is easy, we’d still recommend to customize your video export settings. Go to Step 3.
Step 3: Select a format and preset
Choose between H.264, Quicktime, AVI as we consider these 3 formats the best ones for everything online. They are used by the major social media platforms. YouTube lists them at the top video formats accepted, for example.
Step 4: Adjust your settings and bitrate
Now it’s time to name your video file. Also, see if both Export Video and Export Audio are checked for the video to have both.
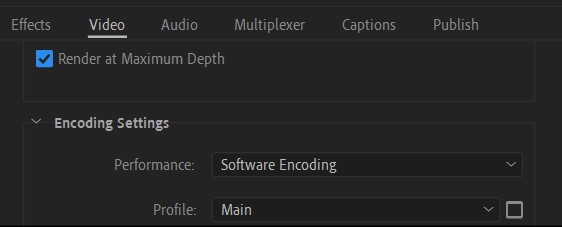
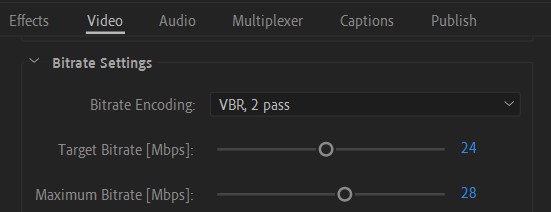
You may also want to play with more settings. We usually set the Bitrate Encoding setting to VBR, 2 Pass. This will ensure that Premiere Pro runs through your timeline twice so that there are no corrupted frames. We also prefer to Render at Maximum Depth.
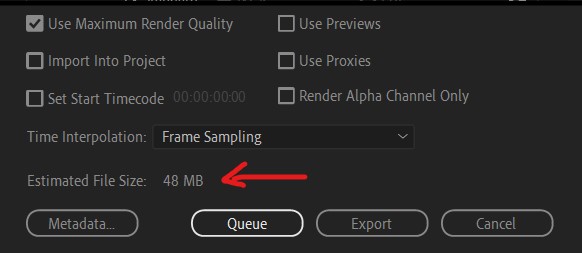
Then we change the Target Bitrate to match our targeted video file size. You can see the file size at the bottom of the window. So if you prepare a preview video for a client and you plan to send it to them by email, reduce the bitrate so that the video file is smaller.
Step 5: Finish your export
You can now use one of the two Premiere Pro export options: Queue or Export.
Queue will send you to Media Encoder and the sequence will be added to a queue. Then you will have to press the green play button at the top to start the export. This option is great if you want to export multiple Premiere Pro sequences at the same time while continuing to work in Premiere Pro.
Export will start rendering your video right from that window. You are not able to use Premiere Pro while it’s exporting this way.

Best Video Export Settings for YouTube
Here is how to export your finished video for YouTube:
- See if the Timeline panel is active.
- Then go to File > Export > Media or press Control+M (PC) or Command+M (Mac)
- Choose Format: H.264 and Preset: Match Source – High Bitrate.
- Name the video and choose a folder to save it into. Click the filename to open the Save As dialog box to choose an export location and a name for your new file. Click Save.
- Check the file size at the bottom of the Export window. If you are happy with the settings and file size, click Export.
Best Video Export Settings for Instagram
Here is how to export your finished video for Instagram. Follow the same steps from the YouTube video, except for these settings.
- See if the Timeline panel is active. Then go to File > Export > Media or press Control+M (PC) or Command+M (Mac)
- Choose Format: H.264 video compression, high profile preferred, square pixels, fixed frame rate, progressive scan.
- Audio: Stereo AAC audio compression, 128kbps + preferred
- Maximum size: 4GB
- Bitrate: No limit to bitrate file if you’re using two-pass encoding. Your file should not be larger than 1Gb.
- Name the video and choose a folder to save it into.
- Check the file size at the bottom of the Export window. If you are happy with the settings and file size, click Export.
Also, don’t forget about these specific requirements for Instagram:
- Video aspect ratio: Landscape (1.91:1), Square (1:1), Vertical (4:5)
- Minimum resolution: 1800 x 945 pixels (1.91:1 landscape) / 1080 x 1080 pixels (1:1 square) / 864 x 1080 pixels (4:5 vertical)
- Maximum length: 60 seconds
Best Video Export Settings for Facebook
Here are the video export settings for Facebook:
- Video Format: H.264
- Audio Codec: AAC
- Recommended Video Bitrate: Target: 6, Maximum 12
- Bitrate Encoding: Variable Bit Rate, VBR, 2pass
- Video aspect ratios: 16:9, 1:1, 4:5, 9:16
- Video file size: 4GB Max
- Video length maximum: 240 minutes
Best Video Export Settings for TikTok
Here are the video export settings for TikTok:
- Video Format: H.264 or QuickTime
- Audio Codec: AAC
- Recommended Video Bitrate: Target: 10
- Bitrate Encoding: VBR, 2pass
- Video aspect ratios: 9:16
- Video File Size: up to 287.6 MB (iOS) and 72 MB (Android) in size
- Video length maximum: 15 seconds
Save Your Favorite Export Settings in Premiere Pro
If you create the same types of videos in Premiere Pro, here is how to save your export settings.
- Beside the Preset dropdown menu in the Export window, click the Save preset button.
- Name your custom preset.
- When you want to use the preset, choose it from the dropdown menu.
Need video free video clips for your edits, check out our collection of stock video clips?
Need more free assets for videos: free sounds, free music, free icons? Check out the curated collections on the partner site: Free for video.