Looking for ways to add text to your Premiere Pro project? Let’s explore the 3 ways to add text in Premiere (one is professional).
Only a couple of decades ago movie title making was a skill and title creators were in high demand. Today the rise of video editing and animation software allows anyone to add cool titles to their video edits.
A video title includes several distinct elements. It can be a film title, names of the cast, other useful information. You can create such titles with the help of fonts. Sometimes, you may also need visual elements in your title – like logos, photos, icons.
If you are a seasoned Premiere Pro user, you know how to add text and design titles. You may be also using third-party solutions like animated titles built in After Effects for use in Premiere. We will talk about pre-made title templates later.
If you are new to Premiere Pro, you may need some help about how to add text in your video scenes. We have three methods of adding text in Premiere Pro for you. The first method is to add text via the Text tool. The second is to add text with the legacy title option in Premiere Pro. The third method is to get pre-built titles as motion graphics templates or .mogrt files.
Contents
Adding Text in Premiere Pro with the Text Tool
Premiere Pro is probably the best NLE (non-linear editor) that has a rich range of fonts and text styles. If Premiere Pro’s collection of fonts is not enough for you, you can always try free font sites to add more fonts to Premiere. But the font and text styles available in Premiere are usually more than enough. Here are the steps:
Start a new project in Premiere Pro. After opening Premiere, go to the top menu. Choose File then New > Project. Name your project. Import your media (video, audio) by double clicking on the left-corner library.
Add the desired video files to the timeline.
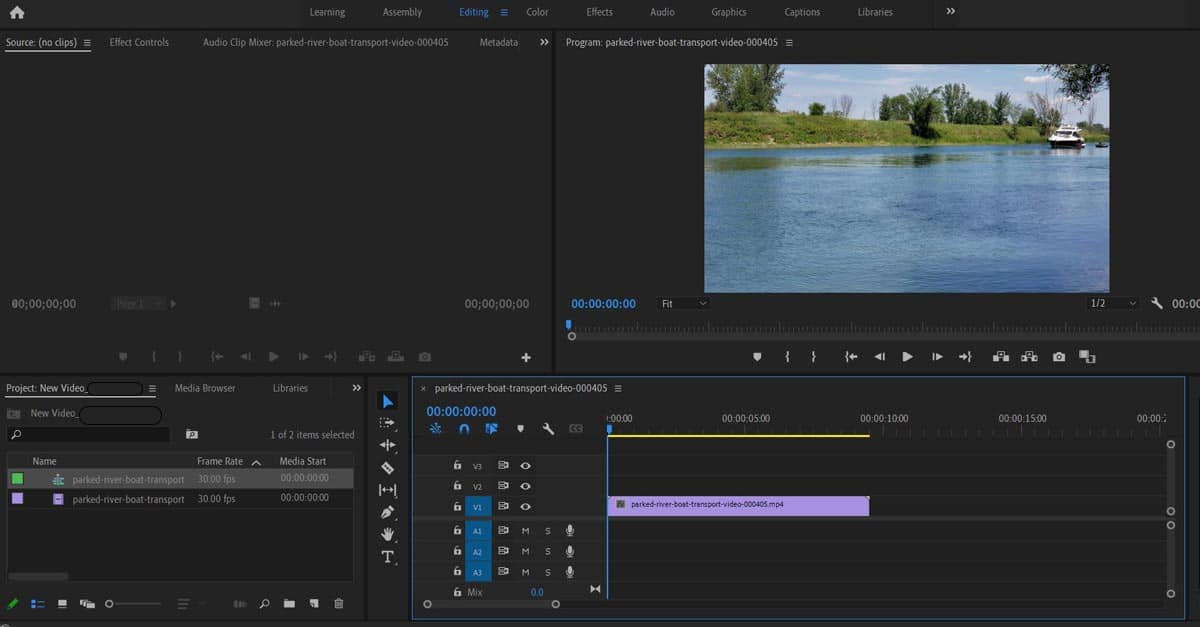
Add a new text layer to your timeline by pressing CTRL + T on your keyboard. A new text layer will appear above your video.
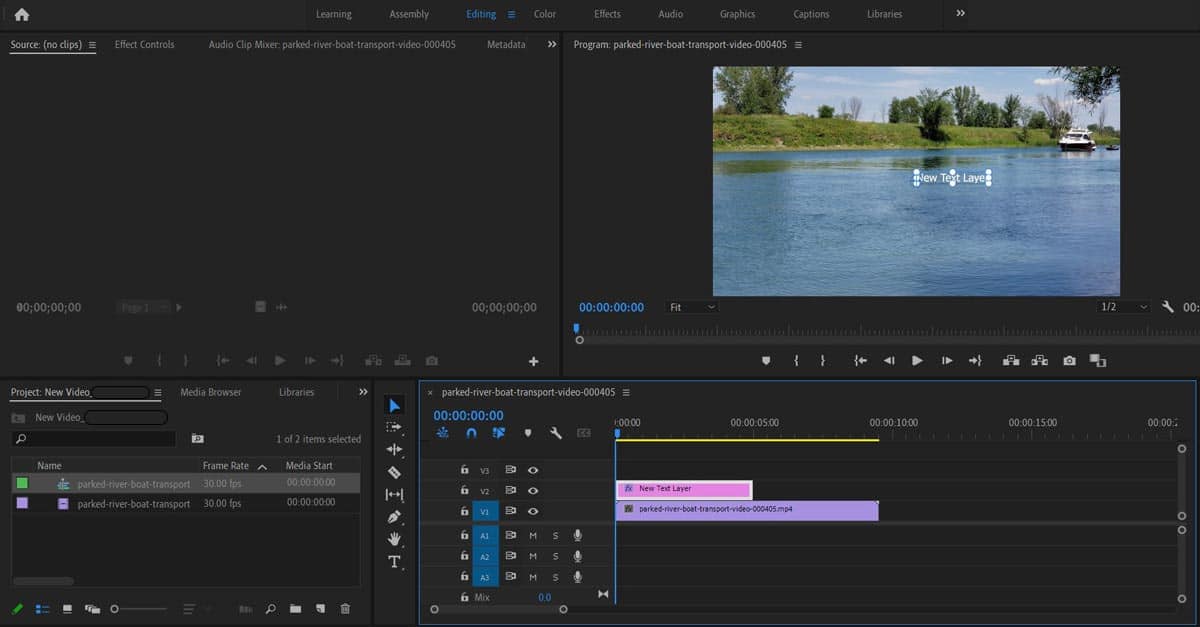
When you click on the new text layer, you should be able to make adjustments in the Effects Control tab.
If you want to add more text, use the type tool and then click on the area where you’d like to add text. Type your words. By pressing Enter you will create a line break.
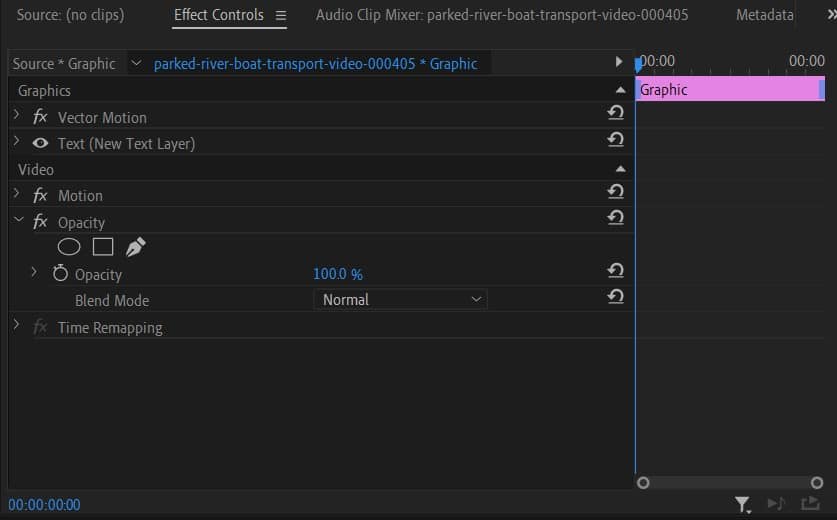
Each new piece of text will appear as a separate Text under Graphics in the Effects Controls tab. You can change you text by using the customization options available in Text: Shapes, Source Text, Transform.

Shapes
You add shapes to your future title: circles, squares, or any other shapes that you can draw.
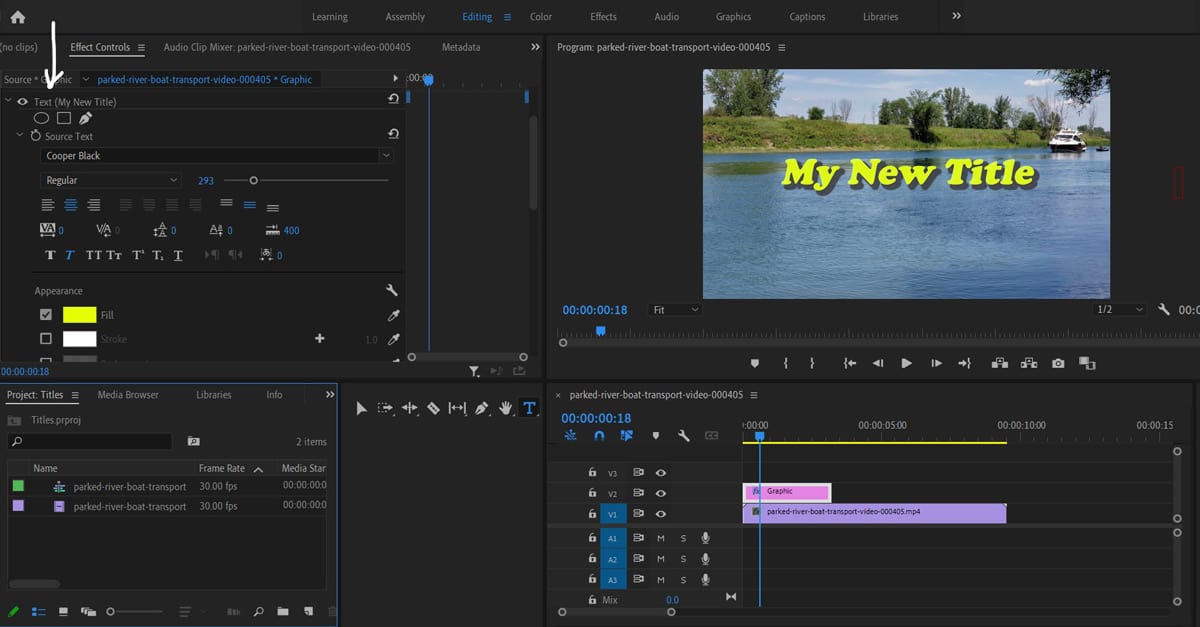
Source Text
Here you have a lot of freedom. By using the text properties you can change the font, color, alignment, size, angle, position.
Change the text color: use the appearance controls. You can always use the eye drop tool to select any color from your footage and apply it to the title text.
Change the size of your text by using the slider right next to the font selector.
Add shadow right below the color selector in the Appearance controls.
Change text alignment by using the align options if needed.
Transform
For a better layout of your text, use the customizations under Transform. The Position will change the location of your text. Use Rotation to change the direction of the text. With Opacity you will change your title’s transparency. You cant also experiment with the Horizontal Scale for a change.
Your titles will appear in the Project panel. You can drag them on a video clip in your timeline. Adjust the text duration if needed.
Export the video with the text added. If you like how the text looks like on your video, you can export the final video. Go to File > Export > Media. Change the format and the settings. If you need to export for a specific social platform, check out our guide of social video formats and settings.
How to Add Text in Premiere Pro With Legacy Titles
You can also use the Legacy Titles option to add text to videos inside Premiere Pro. When you use legacy titles, you actually create a new layer that you can add to videos on your timeline.
After you opened or created a new Premiere Pro projects, imported media, and added footage to the timeline, create a new title layer. Go to the top, click File > New then choose Legacy Title (or Title if your version of Premiere Pro is not recent).

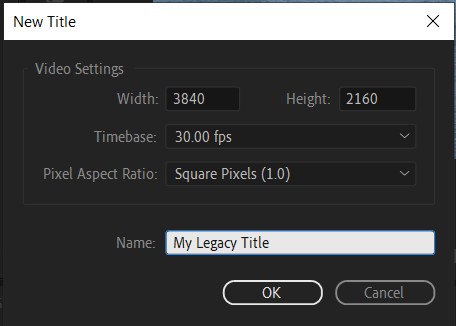
Give your new title a name.
In the window that will appear you can set the height, width, time base and aspect ratio. You can always leave the default settings. Type a name and click OK.
On your left, select the T shape (the text tool). Open the preview window and type your title and adjust as needed.
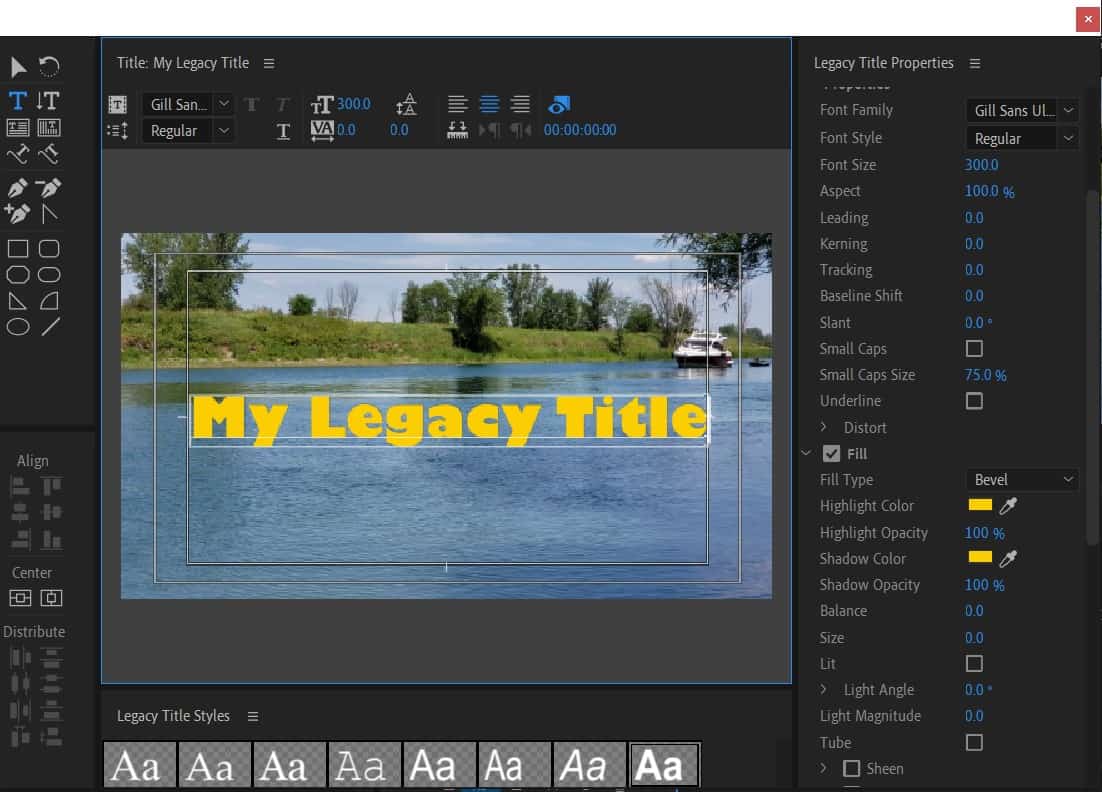
Move the text field: With the arrow icon you can move the text around.
Align the text as needed with the align options.
Add shapes: on your left you will find a collection of shapes that you can use.
Change text color: Click the color box next to the eye-drop icon. Here you can choose as many colors as you’d like. You can also use HEX color codes to get to the exact color.
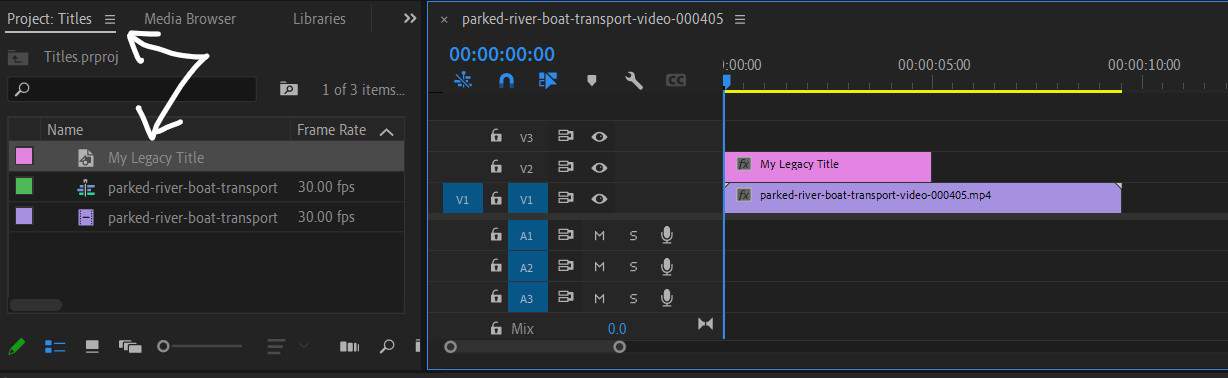
Drag title to the timeline: Once done, click the text icon in the media library. You should be able to add the new text to your video by dragging it into the timeline.
If you happy with the result, you can export the video by going to File > Export > Media. See the formats for the most popular types of social videos.
How to Animate Titles in Premiere Pro
After you tried either of the two methods from above, you might want to animate your title. Here is a 10-minute tutorial to animate your titles in Premiere Pro:
How to Add Text to Premire Pro with Motion Graphics Title Templates
You can also add professionally made titles to your videos with motion graphics templates or .mogrt files. Mogrts are templates that allow a lot of flexibility for Premiere Pro users. They bring the power of animation from After Effects without the need of using After Effects.
Also, mogrts can be used and re-used in multiple Premiere Pro project. Because these templates allow a high degree of customization, you can change the font, color, position, alignment, and more. The beauty of using these title templates is that you can preserve consistency and branding in your videos.
Mogrts are real shortcuts for video editors. But they have limitations:
- Mogrt can contain text, solids, images, video clips, layers, and audio.
- Mogrt allows the user to change the font (family, style, size, text layers, spacing). But the great majority of font settings may not be available (like paragraph panels).
- Mogrt can be linked to external data files (CSV).
- Mogrt cannot interact with other layers in your Premiere Pro timeline.
Importing mogrts into Premiere Pro is simple – just follow these 5 steps:
- Make sure your Essentials Graphics panel is active. You need to check it by going to Window in your Premiere Pro view.
- Drag and drop the mogrt into the list of your templates in Essential Graphics.
- Find the newly added mogrt to your timeline by dragging it in there.
- To edit the mogrt, click on the mogrt in your timeline and you will be able to edit it in the Edit tab under Essential Graphics.
- Depending on the type of your mogrt, you may be able to change the text, animations, objects, background, styling, scale.
You can get free mogrts [via FreeForVideo.com] if you want to experiment with ready-made title templates for Premiere Pro.
Here is another detailed tutorial about what you can do .mogrt titles in your Premiere Pro projects (based on a mogrt developed by FilmBodega).
For more Premiere Pro tips, check out the ways to crop clips in Premiere, delete audio in Premiere, or merge clips. If you need free video clips for your video edits, check out our free footage collections: