Looking for ways to delete just audio in Premiere Pro? Here is a quick method to do so in 5 easy steps.
Why would someone need to delete just audio in a Premiere Pro project? The reasons may be different. I usually remove the audio on the original footage for these two reasons.
First, when I shoot videos and record audio on an external audio recorder in addition to the in-camera audio. In edit I need to remove the in-camera audio as my external audio usually has a better quality of the sound.
Second, when I prepare videos for our stock video library or for upload to other free and paid stock video sites, I usually delete the audio track in such video clips. The best practice for stock footage is to remove the sound. This gives the possibility to users to add whatever sound – music or sound effects – that they like.
Deleting just audio in your Premiere Pro project will take several easy steps. Let’s get started.
Contents
Step 1: Open a new Premiere Pro project
You need to have Premiere Pro on your computer whether it’s a trial and paid version. Open Premiere Pro and go to File to create a new Project. Name your project and save it in a folder of your choice.
Step 2: Import the video clip in your Premiere project
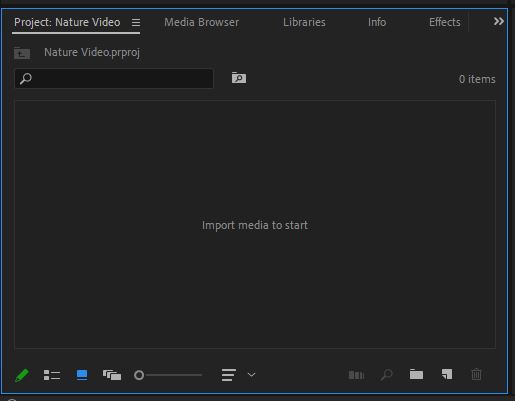
By default you should see the Project panel on your left. You need to import your video clips into the media area. You can either drag and drop the video clip into this area. Or right-click and go to the folder where the video clip is located.
Step 3: Add the video clip on the timeline
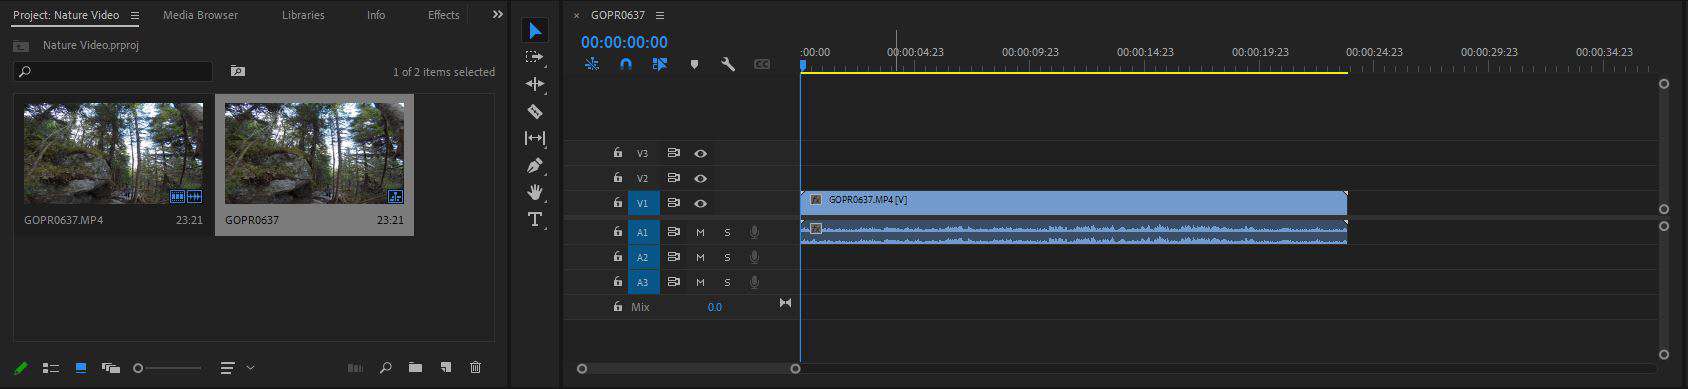
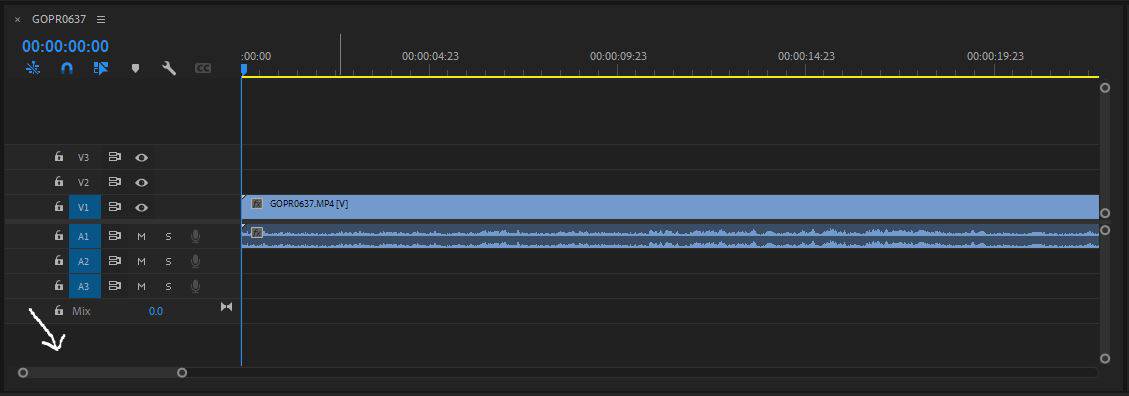
Adding the video clip on the timeline is a simple drag-and-drop from the project area to the timeline. Sometimes, you will not see the timeline in your Premiere view. To fix it, go to Window in your top menu and choose Timeline in the dropdown.
If your video clip is too short, you can use the scale slider to zoom the timeline in (or out).
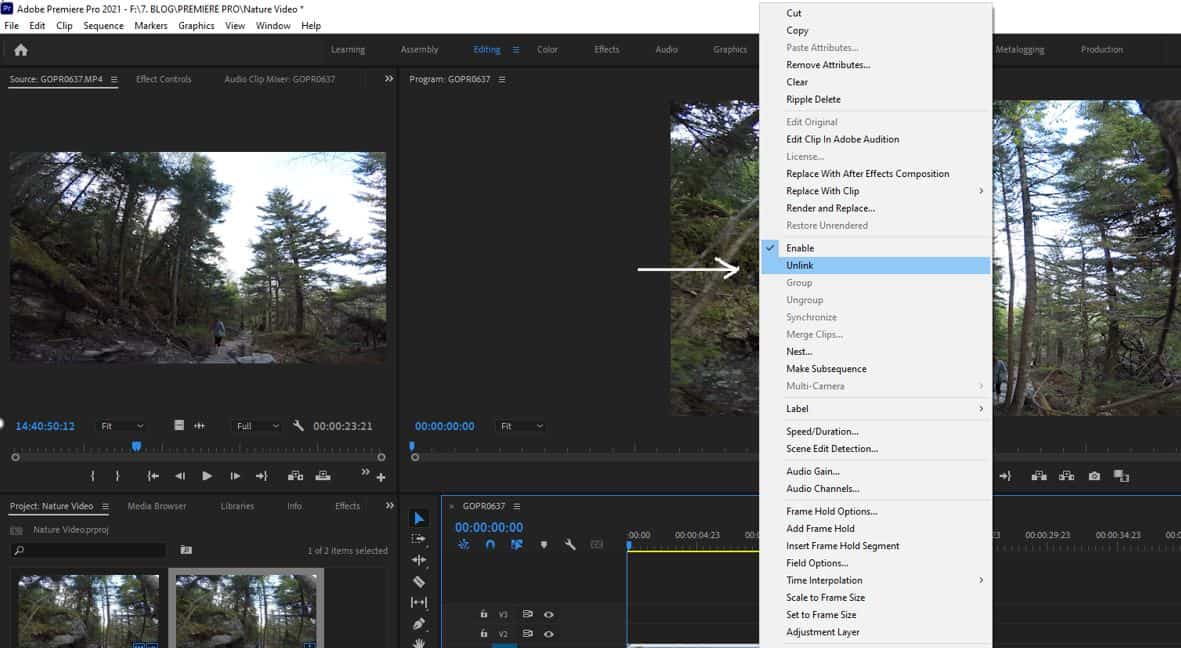
Step 4: Unlink audio
Deleting audio or “unlinking” and removing can be done in two ways.
1) Right-click on the video clip in the timeline. In the menu that opens choose “Unlink”.
2) Click on the video clip in the timeline. With the video clip highlighted, go to Clip in the top menu. Choose Unlink in the dropdown menu.
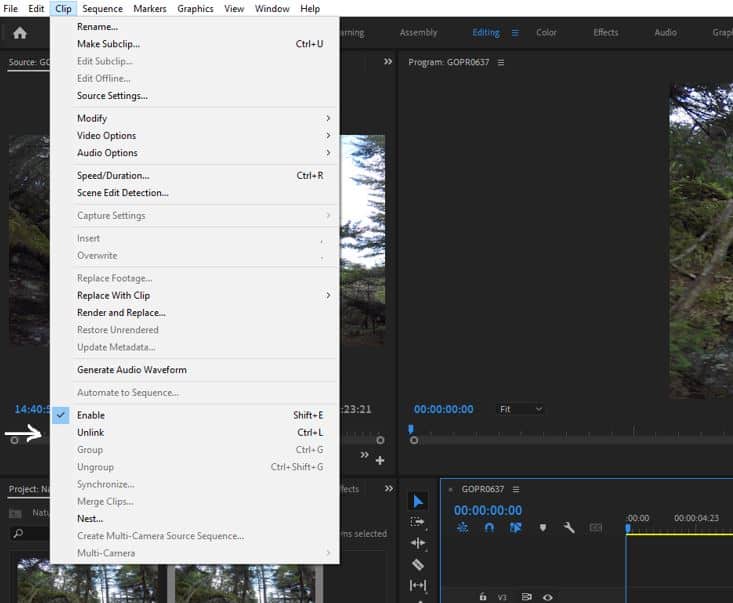
Unlinking means that you separate the audio from your video.
Step 5: Delete audio
Now that your audio is unlinked from the video. Click on the audio track, which is usually right below the video, and click the Delete key on your keyboard.
This action will remove just the audio. Play the video and you will see there is no sound.

You can now either export the video without sound with the purpose like submitting to stock video libraries or you can add other audio to the video on the timeline.